Connecting to your server via SSH couldn't be simpler. Each website has it's own SSH user. You can find your websites SSH login details by following the steps in this guide.
To connect via SSH on a Mac you don't need any additional software. To connect using your Windows PC you will need to make sure you have an SSH client installed such as WinSCP or PuTTY.
To log in to your server with SSH, you need three pieces of information:
- The server’s IP address or Hostname
- The SSH username
- The SSH users password
Connecting with PuTTY
Download and run the PuTTY installer located here: Latest PuTTY download
When you open PuTTY, you’ll be shown the configuration menu.
Enter your servers’s hostname or IP address. The default port for SSH is 22.
Click Open to start an SSH session. If you have never previously logged into this system with PuTTY (we’ll assume here you have not), you will see a message alerting you that the server’s SSH key fingerprint is new, and asking if you want to proceed. Click Yes
You'll then get prompted with login as:
Enter the username you obtained earlier and then you will be prompted for the password:
After entering the password you will then be logged into the server.
You may want to issue this command:
su -
Which will log you into the root account and grant you higher permissions to run commands.
If you require the root login details for the server you can get these from the Client Area or the hosting platform.
Connecting with Terminal
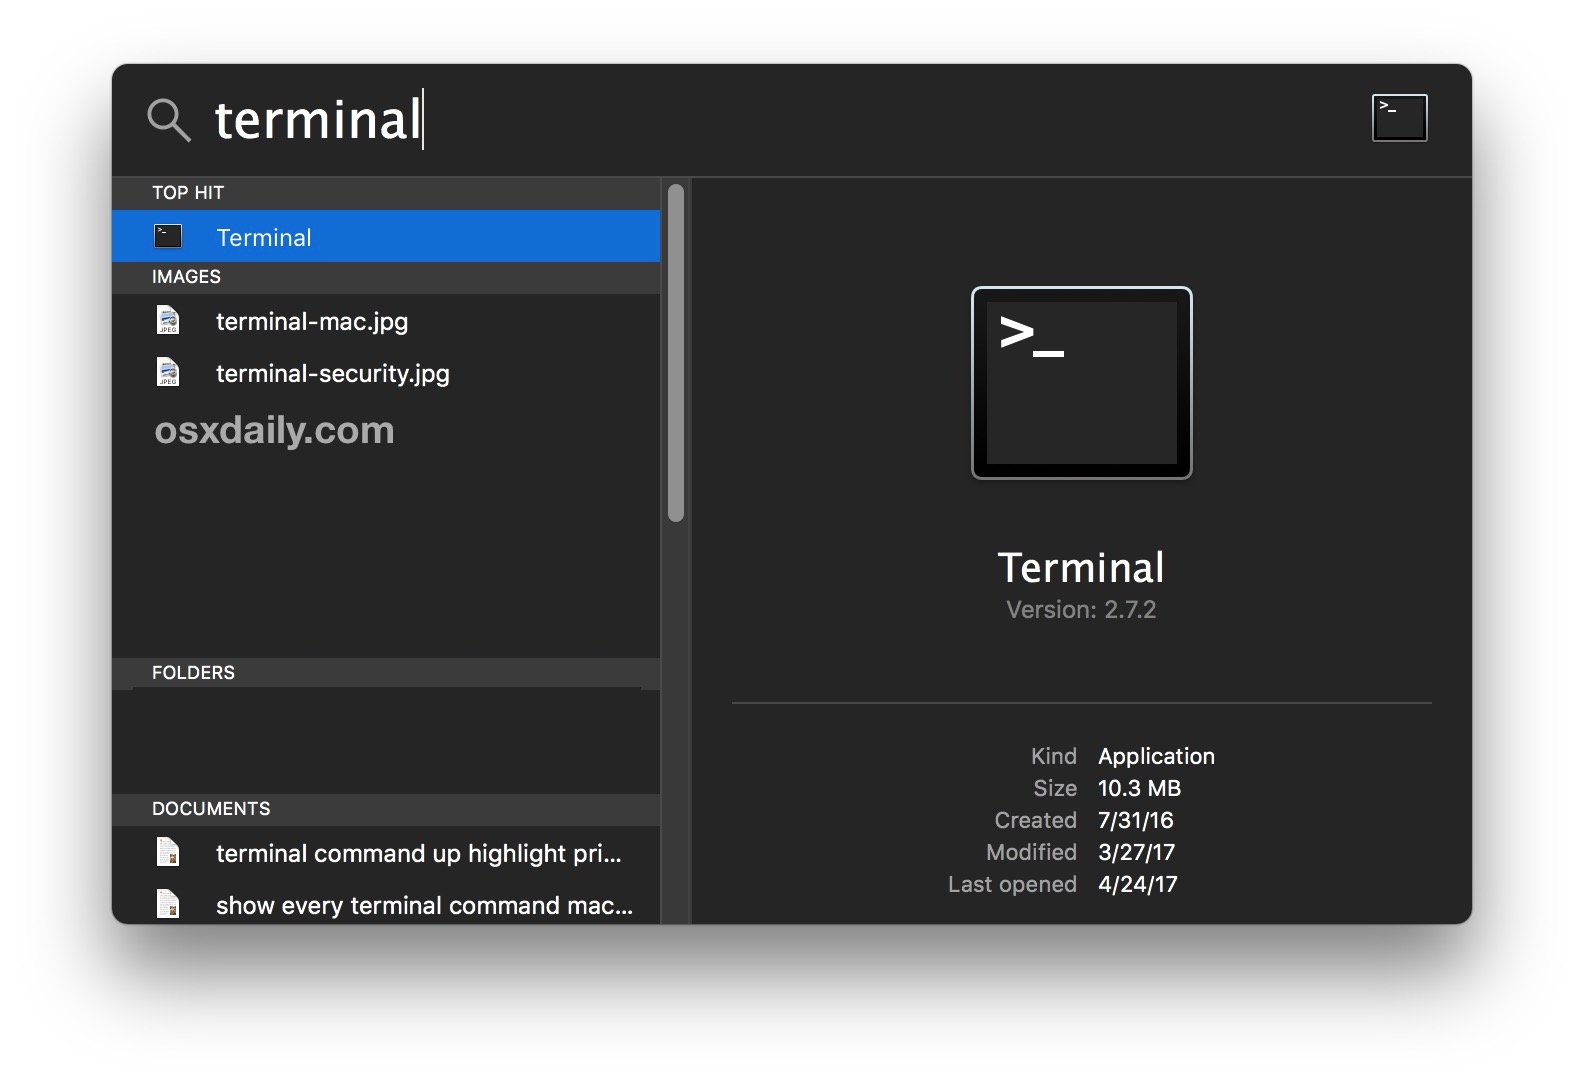
Launch the Terminal application, Terminal is found in /Applications/Utilities/ directory but you can also launch it from Spotlight by hitting Command+Spacebar and typing “Terminal” and then return

At the command prompt, enter the following ssh syntax:
- ssh username@your_server_ip
Replace “username” with the appropriate user account of the remote machine, and “ip.address” with the IP address of the remote machine. For example:
ssh nimbus@192.168.1.5
- Hit the Return key to execute the command
- Optional: You may need to verify the authenticity of the host, if everything checks out type “yes” to accept a fingerprint key and connect to the SSH server, or type ‘no’ to reject it and disconnect
- Login to the remote server by entering the password for the user account you are logging into
You may want to issue this command:
su -
Which will log you into the root account and grant you higher permissions to run commands.
If you require the root login details for the server you can get these from the Client Area or the hosting platform.
Connecting with 1-click SSH button
If you are using a Mac or a Windows computer with WinSCP installed on it you can can use our 1-click SSH button to connect to the server via SSH.
Clicking the button will automatically open your SSH client and you'll need to do is enter your password to connect.
You'll find the 1-click SSH button on the same page as your SSH details and you can find your websites SSH login details by following the steps in this guide.


